Serial I/O Card Installation
It is very easy to use any Sealevel RS-232 or RS-422 serial card with Softwire. Install the card as per the directions in SeaCOM.hlp or your manual, and use the device manager to find out what port(s) the card is installed as.
In Softwire, left click on the GPIB/COM tab then click on the "Serial Out Control" icon. You should then get the serial icon on the desktop.
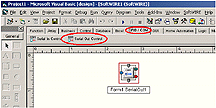
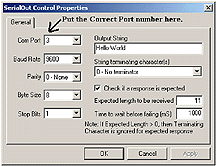
Right clicking on the Form1.SerialOut1 icon will bring up a popup menu. Select properties to bring up the properties dialog box. Setup this windows as per example.
** Make sure you set up the correct Com Port number.
Click on the GUI tab. Add a command button and a text box to the work area by left clicking on the appropriate icons. See example
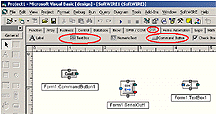
Now connect the "Data Ready event" on the CommandButton1 to the "control in" on the SerialOut1.
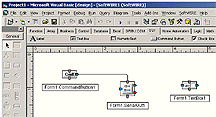
Connect "String Read" from SerialOut1 to the "Text" input on TextBox1.
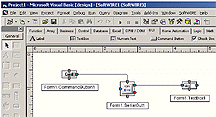
Now with some cosmetic work your project turns out looking like this! Now you are ready to run the program.

If you have any problems please see the SoftwireSeaCOM.vbp example program. RS-485 cards with autoenable turned on also work well with Softwire, although the SoftwireSeaCOM.vbp isn't as appropriate.
Digital I/O Card Installation

Synchronous I/O Card Installation


