Use logical cones to view, highlight, and cross-probe a selected subset of your netlist.
You can create as many logical cones as you want. A logical cone displays only the objects you add to it. Initially, the cone does not contain objects.
To create a logical cone:
In NetlistViewer, from the LogicalCone menu, choose Create New Cone.
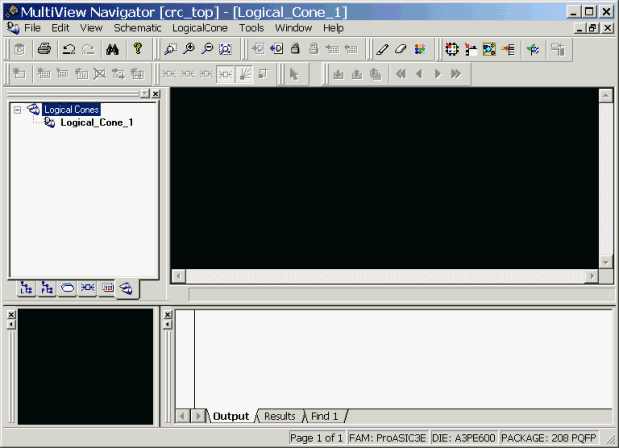
A new window appears in which you can add logic to the cone. The name of the new cone appears in the Logical Cones tab of the Hierarchy window.
New Logical Cone Window Added
In NetlistViewer, select one or more objects to add to the cone.
Right-click the selected object(s), and from the right-click menu, choose Add To Active Cone>Add Selection.
A Logical Cone window containing only the selected object(s) appears as shown in the following example. You can add and delete objects from a logical cone window.

Selected Objects Added to the Logical Cone
Tip: If no cones exist in the current design, you can skip a step. Just select one or more objects, right-click, and then choose Add To Active Cone>Add Selection from the right-click menu. A new cone containing the selected objects appears.