You can customize the toolbars in Capture to alter the look and feel of the toolbar buttons, to create custom toolbars or even add and remove buttons from existing toolbars.
In this section:
To change the display of toolbars
- Select Tools – Customize.
- Click the Toolbars tab.
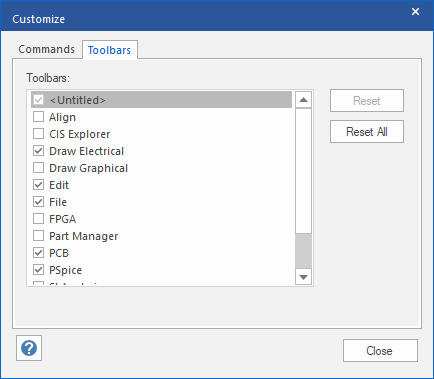
- Select the toolbars you want to display from this list.
The selected toolbar appears. - Click Close to close the dialog box.
Alternatively, you can open the Customize dialog box using one of the following methods:
- Select View – Toolbar – Customize.
- Right-click any menu bar or toolbar and choose Customize.
To add menu option or button as a new menu or in the toolbar
- Select Tools – Customize.
- In the Commands tab, from the Categories list, select a category to display related toolbar or menu bar options.
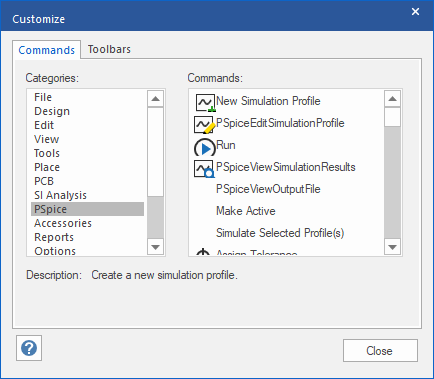
- To add the selected option to a toolbar or to a menu, drag it from the Customize dialog box to any toolbar or menu bar displayed in the program window.
- Click Close to close the dialog box.
To remove buttons from toolbars
- Drag the button you do not want from the toolbar.
To reset toolbars to their default settings
- Select Tools – Customize.
- Click the Toolbars tab.
- Click Reset.
- Click Close to close the dialog box.
Changes are applied only to the currently selected toolbar.