Note: This feature is available only for Fusion, ProASIC3/E, ProASIC PLUS, and ProASIC devices.
The Route view displays a representation of the routes. This feature shows the general location of routing segments used by the design.
To activate the route view in ChipPlanner:
Complete Layout. To display routes, Layout must be completed before running ChipPlanner.
Select the assigned macro in either the ChipPlanner window or the Physical tab of the Hierarchy window. Select multiple macros by holding down the CTRL key.
From the Nets menu, choose Show Routes, or click the Show Routes toolbar button.
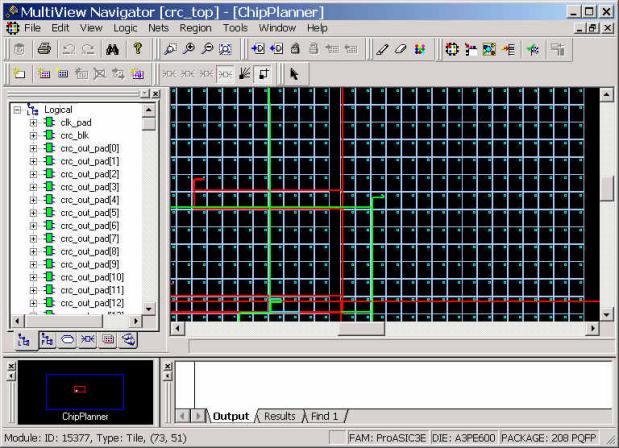
Here is an example of a Route view. Note that the module icons look different from the way they appear in the Ratsnest view.
Route View in ChipPlanner